$5.00
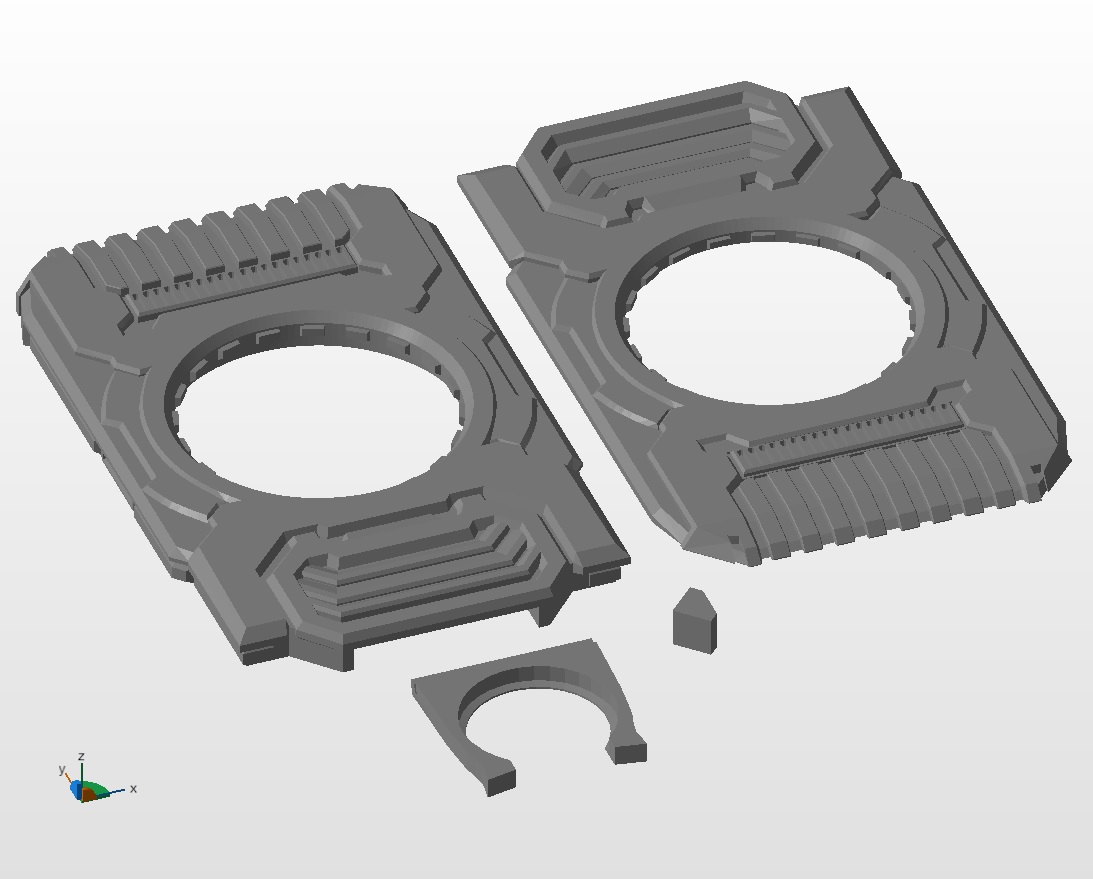
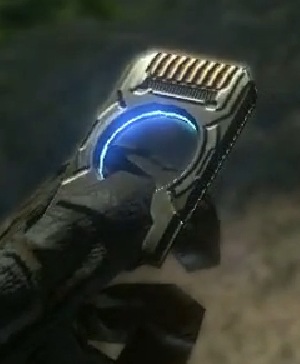
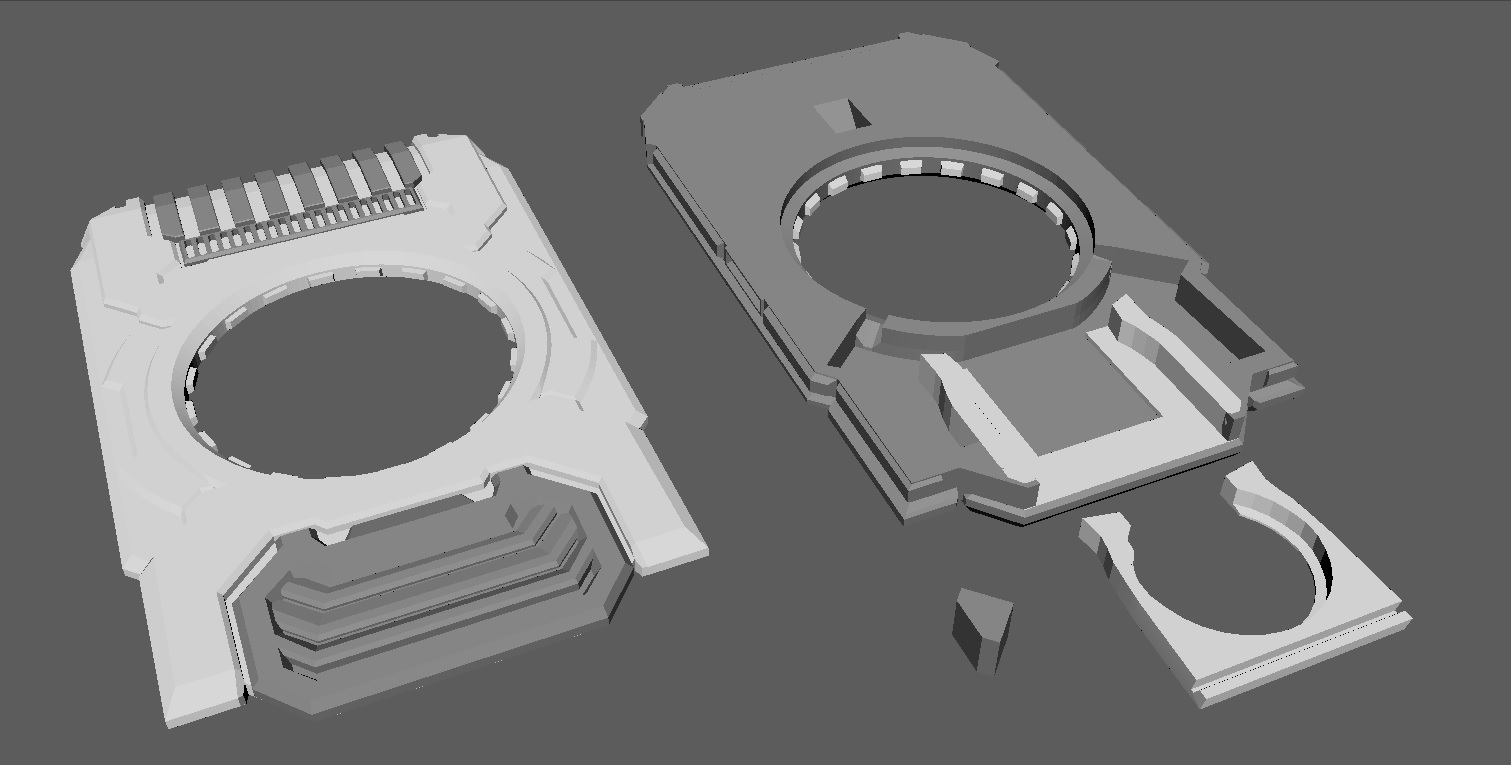
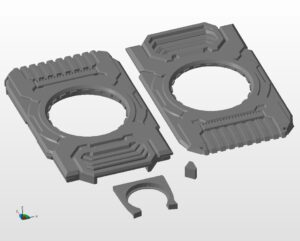
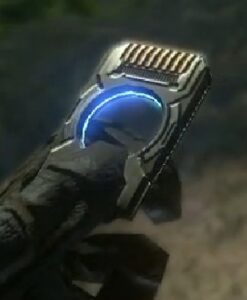
Detailed STL model for cortana’s datachip based on it’s appearance in Halo 3. Allows for installation of 130mm led filament (such as this) and removable holder for coin cell battery (2032 or 2025). Solder the brass contact strips from a fairy light coin cell battery holder to make easy contact points for the battery.
Optional SVG vector image included for laser cutting and engraving the center disk in transparent acrylic plastic. 3MF project files included for Orcaslicer, Bambu studio and Prusaslicer.
Scale: 90mm by 55mm, thickness 10mm.
More details below.
Description
Detailed STL model for cortana’s datachip based on it’s appearance in Halo 3. Allows for installation of 130mm led filament (such as this) and removable holder for coin cell battery (2032 or 2025). Strip the brass contact strips and a tiny bit of wire from a fairy light coin cell battery holder to make easy contact points for the battery.
Optional SVG vector image included for laser cutting and engraving the center disk in transparent acrylic plastic.
3mf project files for Orcaslicer, Bambu Studio and Prusaslicer included.
Part STL files are already scaled and oriented in the best print quality orientation.
Use supports with 20 overhang angle (normal/snug structure, not tree support).
You may want to enable brim if your bed adhesion is questionable.
You can use ironing setting in the 3dprint slicer to improve the smoothness of the flat top surfaces even more, and use a 0.2mm or 0.25mm nozzle for detailed print quality.
Scale: 90mm by 55mm, thickness 10mm.
Center disk scale: 36mm diameter
Recommended post-processing:
Install brass contact points and solder the led filament to the contact points with thin electrical wire (such as 28g) before gluing the parts together.
Use the triangle key to align and glue the main parts 1 and 2 parts together.
You can use superglue (with accelerant), epoxy glue or any other strong glue you like to fasten parts together.
Use masking tape to tape off the leds. Sand your 3D print using 100-150 grit sandpaper, with royal use of primer or filler spray in-between to get a smooth surface. When you’re satisfied with the results, your last layer should be a primer spray, before painting it with acrylics, spraypaints etc. Protect your paint from scratches with a varnish spray.
The 3d models are made by me. These files are packed in a ZIP folder, you need to extract the files correctly to be able to use them, if you have problems doing so, please contact me.
Non/commercial license information: You may not resell or distribute these files in any way. You may not sell 3D prints (such as raw 3d kits) made using these files, with the exception of custom (one-time) commission requests.
Disclaimer: Any rights are reserved for the copyright holders. This is a fanmade item, I am not in any way an official reseller or licensed by the relevant IP owners.