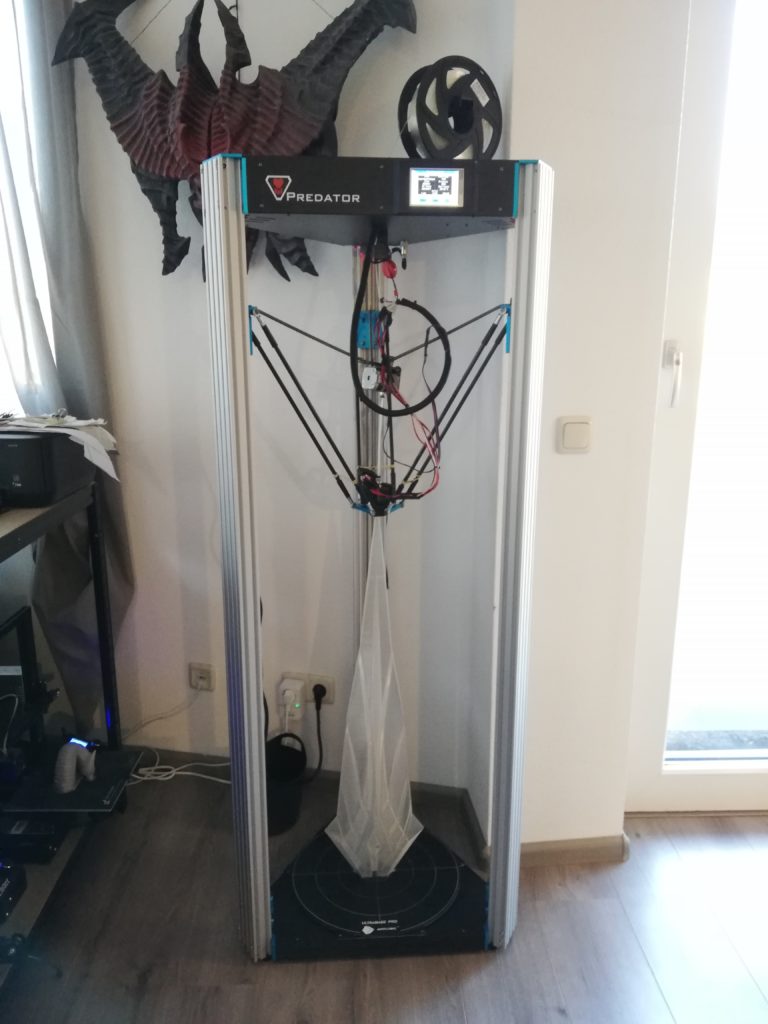
Here I describe my steps on extending the delta 3D printer ‘Predator’ by Anycubic to 950mm z height. I built this mod in April 2019 and the printer is still currently in use. Primarily used to print one piece translucent light swords.
General information about this build
The build volume for the Anycubic Predator is originally 450mm z height, and 370mm diameter for the build plate.
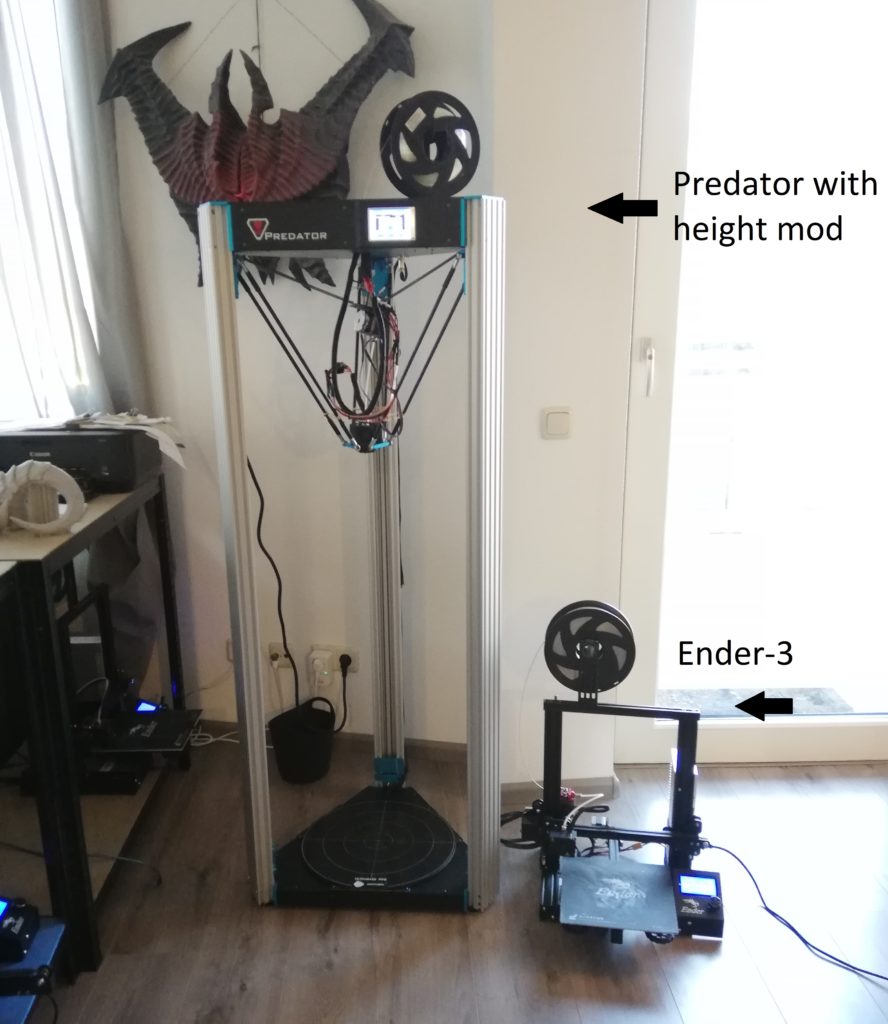
The printer itself is well over 1 meter tall due to the fact it is a delta printer: the rods need atleast half a meter of space to be able to reach all corners in the build plate due to the type of movement of a delta printer. With the height mod, this printer is up to 160cm tall.
The reason why I choose the Anycubic Predator for my height mod: Delta 3D printers are more suitable for height mods. Their triangular structure and fixed build plate makes them more stable at larger heights, and they print a lot faster due to the combined effort of 3 stepper motors to move the extruder. The Predator is also standard equipped with a floating extruder drive, which makes the bowden tube a lot shorter and no need to have a super lengthy feed tube. The Predator also does not require any firmware or board changes to do the height mod (i have done that to mine, see end of page).
Currently, this delta printer is no longer in production. I don’t currently know a delta option with which you could do this mod. The Flsun V400 for example has a custom gantry and extrusions which would be difficult to completely swap out, and some others have linear rails which are difficult and expensive to get in this length.
Information about the gantry carriages and the aluminum extrusions (the pillars)
The Predator uses custom 1000mm long aluminum extrusions as the core of the 3-pillar frame. These are very similar to the standard aluminum 4080 ‘C-beam’ extrusion which have a 40mm gantry gap, but the original extrusions sport a wider 42mm gap for the gantry. This worked out for me after filing down 2mm of the holes to mount the gantry wheels, so the original gantry would fit in the 40mm gap. It would have been much easier if i bought 3x standard open-build gantry carriages instead (but more expensive). You can take apart the carriages for the predator and install the original rod mounts on the new open-build carriages.
Maybe a tip to get those open-build gantry carriages, if you don’t want to file down aluminum by hand.
Hardware
3x 1500mm Aluminium 4080 extrusions ‘C-beam’ style
3x 3000mm GT2 6mm reinforced belts
Some electrical wire and a way to connect them to lengthen the wires for the heated bed and hot-end
Tools
Centerpunch and hammer
Drill with HSV drills (M5, M6, M10-12)
Tap and die set
Metal mini files or a way to drill open the wheel mounts (if you’re not getting new open-build carriages)
Voltmeter + soldering equipment or wire connectors etc
Steps
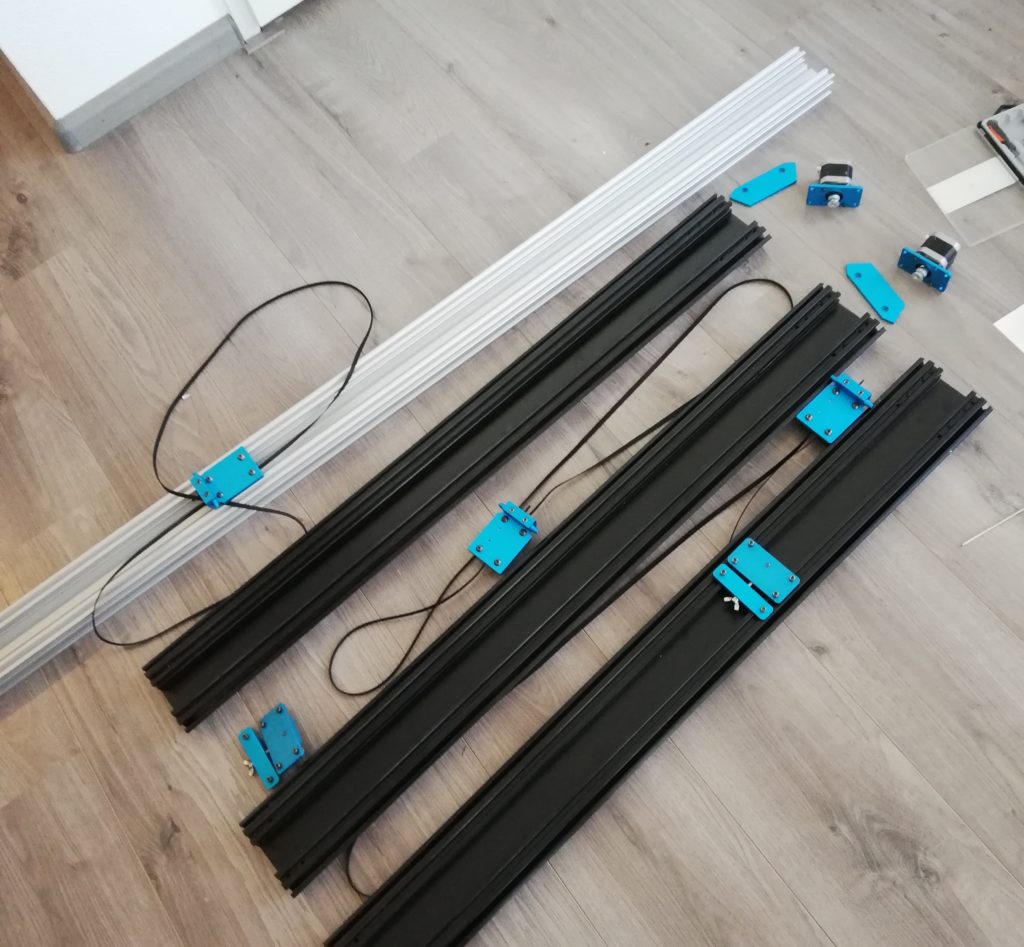
I had to disassemble the entire 3d printer back to the ‘starting’ point, that is, how you get the printer with the frame disassembled to the 3 pillars and the top/bottom frames.
I took off all the gantry carriages and belts, noted the dimension and placement of the drill holes in the original pillars, and marked these in the new c-beams. Make sure you transfer the holes precisely, as it determines the mechanical accuracy of the whole frame.
Using my centerpunch I punched some holes at the markings.
I measured the dimensions of the original screws that go into the frame and make sure my drilled holes matched those. I had to use some M10-M12 drills to drill away the outer shell of the aluminum extrusions, so the bolts had better surface to be fastened (it’s similar to the original pillars so I just imitated that).
Then on the inside of the c-beams I had to drill some smaller holes, (use 1mm smaller drill than the screws) for the stepper motors. These need to be tapped, so you create threading for the screws to be fixed to. I had to make sure the stepper motors fit well on there and keep the 2mm gap difference in mind. I also took this opportunity to fit the stepper motors with dampers, to eliminate sound on this printer. (if you install new mainboard, such as an skr1.4t, no need. The drivers will eliminate the sound and dampers will mechanically affect the printer, so do not use them).
After mounting the stepper motor mounts and drilling the holes, i had to fit the gantry plates with the wheels in place. You can actually disassemble the rod mounts from the gantry plates and use standard open-build gantry plates, but I didnt buy those and decided to file down the holes that fit the wheels in place, so the v-wheels would fit into a 40mm gap instead of 42mm gap.
I flipped the idler plate wrong side out as it doesn’t fit inside the 40mm gap, and removed a spacer to keep the belts level with the top. Then i could fit the gantry plates in place and span the belts between them. I used about 2750mm belts for each pillar.
I mounted the new 1500mm C-beams to the hotbed and the top of the predator, reassembling the entire printer but bigger.
Last part was to extend the wires with an extra 500mm wire to be able to reach the bottom. I kept some of the quick connectors and securely used heatshrink at each connection. I used a voltmeter to make sure that each wire was properly connected.
The bundle of cables was suspended using a retractable card holder reel, this would retract and reel out when the extra length is necessary, without getting tangled in the printer head. Just place the cardholder inside the top chassis and suspend it from the same hole the wire bundle go through and ziptie it somewhere halfway to the wires.
Then turned it on, homed it, and did a new level. The original predator (trigorilla) mainboard does not need any firmware changes to support the extra height. During leveling/homing however it does slow down when it reaches the original z-height, and it’ll take a bit longer to do those operations, but that’s only a very small inconvenience.
It can print small models in proper detail, and large models up to 950mm (in the middle). Keep in mind that a tall model will have more ‘skyscraper’ effect, meaning it will wobble due to the pressure of the nozzle or even break loose from the bed.
This may lead to excessive layer banding and waves in the 3dprint unless accommodated using a special print mode (vase mode, zero infill), low speed, z hop, reduce travel moves, extra wide support structure at the base like a eiffel tower shape, etc. You can experiment with several settings like these mentioned, to minimize it.
2025 current modification list:
Height modification with the 1500mm C-beams
Mainboard: SKR 1.4 Turbo with 2209TMC drivers
Currently using klipper firmware I compiled myself with TMC drivers in uart (stock limit switches)
See more information: https://www.klipper3d.org/Config_Reference.html#linear-delta-kinematics
Klipper screen: Flsun speeder pad (root access needed : https://github.com/Guilouz/Klipper-Flsun-Speeder-Pad/wiki )
Stepper dampers (need to remove these, they’re from before i swapped the mainboard)
V400 effector, extruder, hotend with 0.8mm volcano nozzle
Igus fisheye bearings
Whambamsystems flexible build plate system. They do not sell the predator size anymore but email them for a 380mm delta FBS with PEI sheet or get a similar system from aliexpress.
Retractable caster wheels to move the printer.